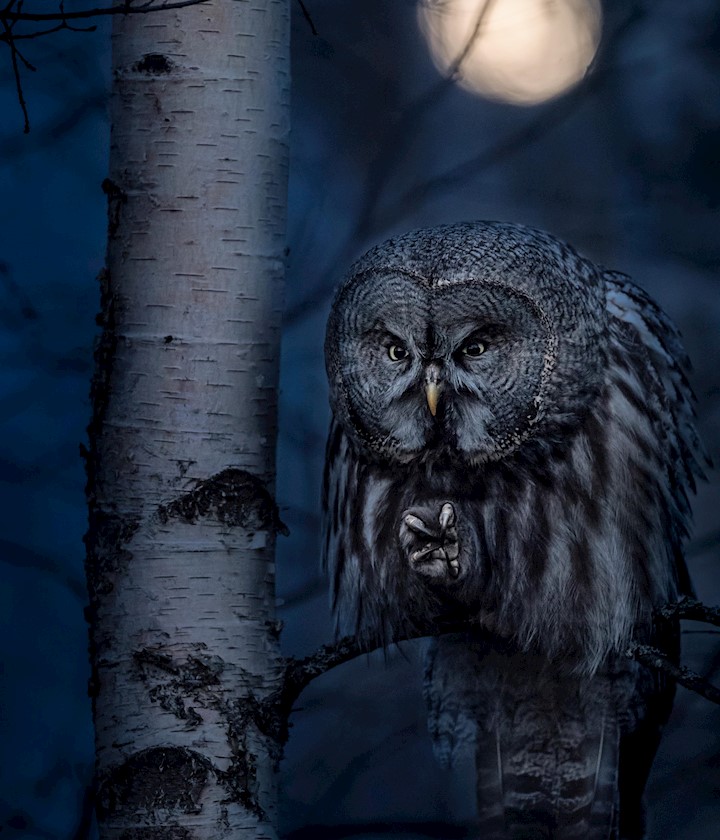
Jonas Classon is a photographer with a passion for bird and wildlife photography. He has been recognized with several awards, for example Highly Commended in the Wildlife Photographer of the Year 2020 competition organized by the Natural History Museum in London. Jonas also leads and teaches photography tours around the world.
Jonas is the photographer behind the book success "Lappuggla - the forest's hidden essence", and here he shares his best tips for succeeding in bird photography.
Looking to capture stunning photos of birds? While bird photography can often seem daunting, it’s actually pretty easy – once you get the hang of it. From tools to techniques, here’s what you need to know to get started doing bird photography and succeed in doing it.
1. Get to know the subject
A prerequisite to succeed with your bird pictures is to get to know the bird you are going to photograph. Not only to take good pictures, but also to be able to do it in a way that does not disturb the bird.
A good start is to let go of the camera and study the bird's movement patterns and behaviour for a period and then plan how to best capture the image you want. When in the day is this bird active? Does it have a place it would like to return to? If you get answers to these questions, it is easier to position yourself correctly in relation to background, foreground, light and wind direction.
2. Direction of wind and light
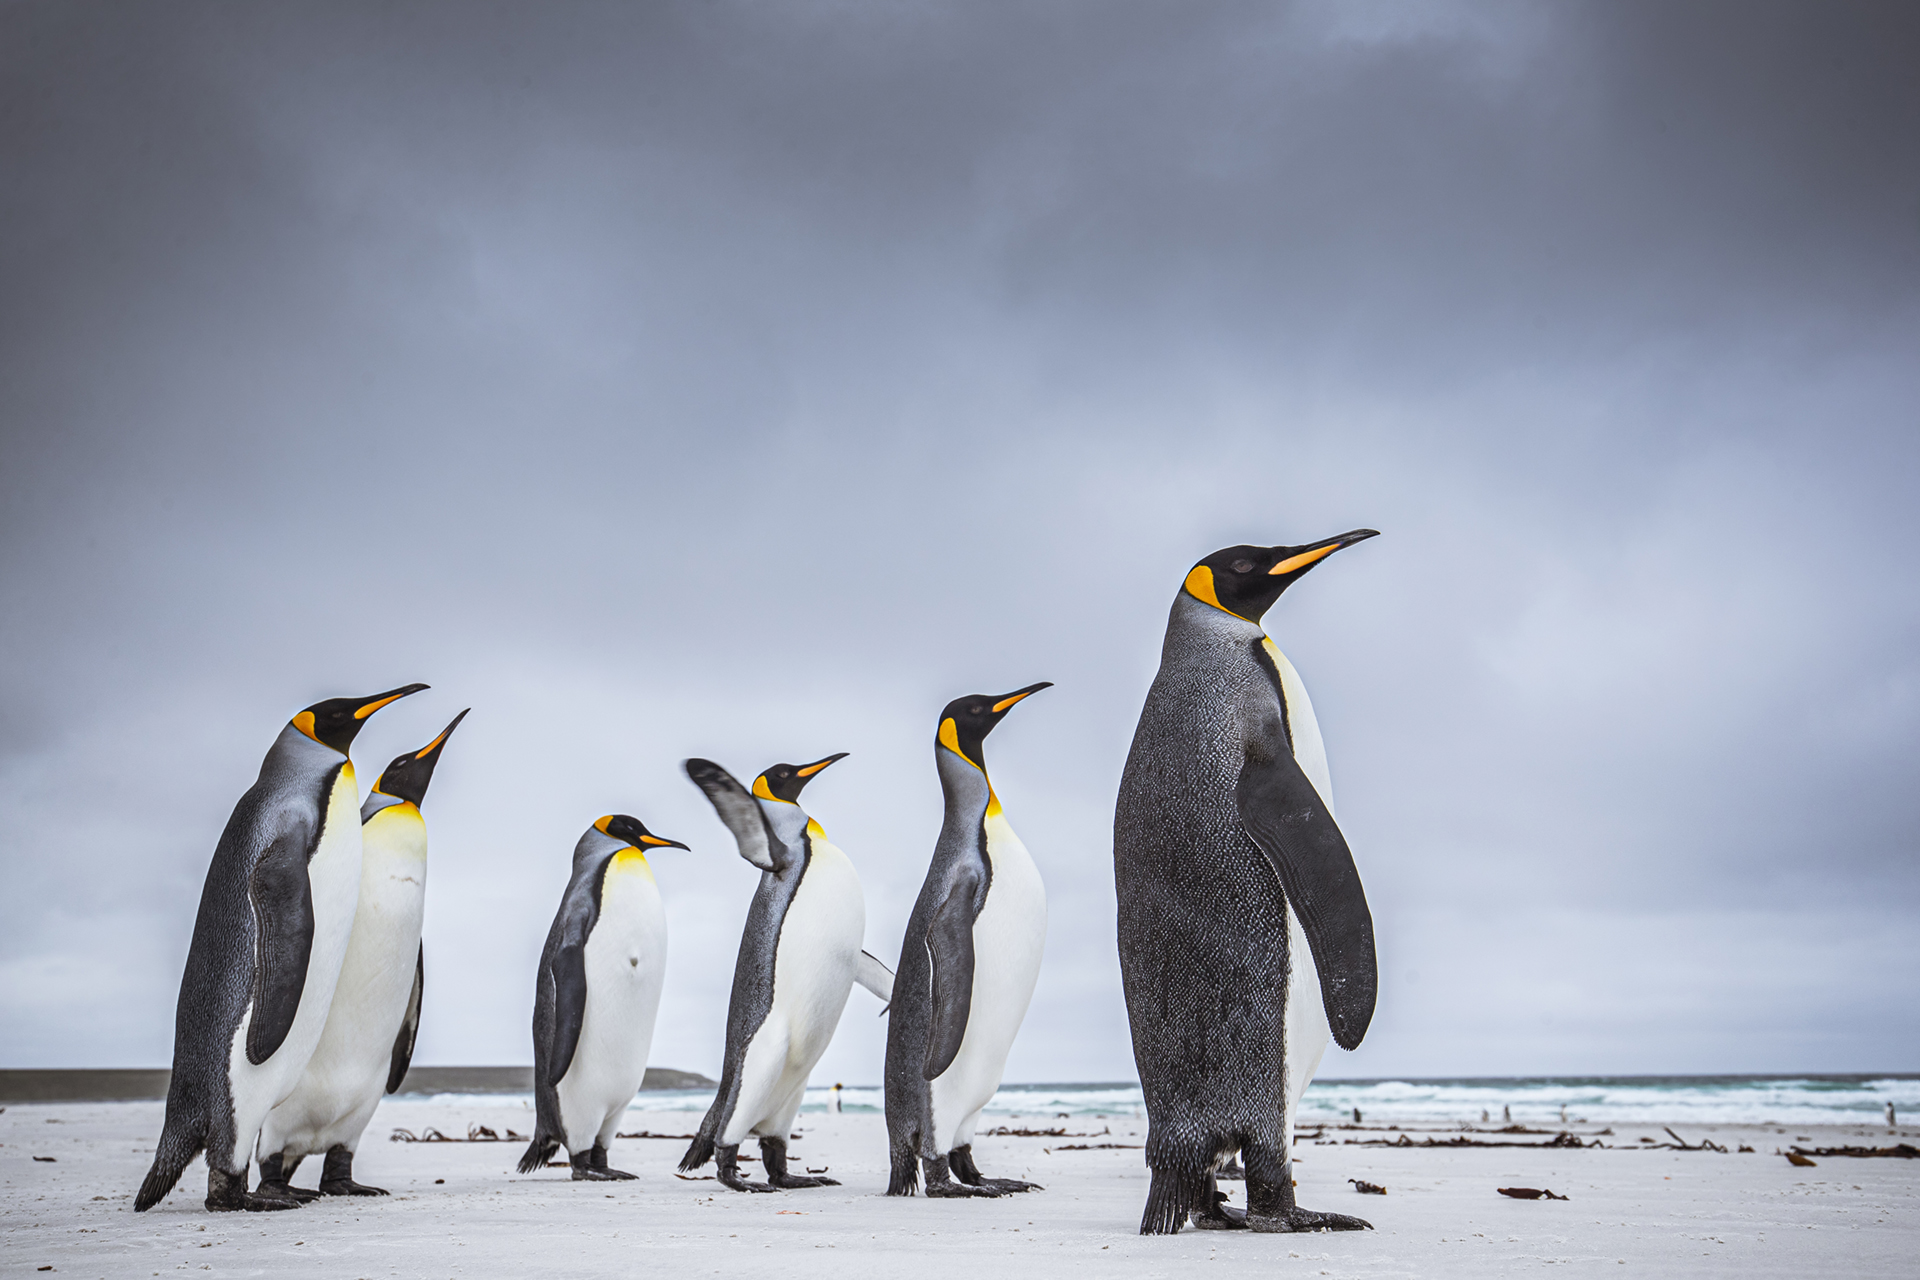
There are two parameters that affect the images more than most others. The wind and the direction of the light. All birds make most of their movements towards the wind: taking off, landing, mating, or looking for food. With that knowledge, it is a prerequisite to have the wind behind you if, for example, you want to photograph a bird from the front.
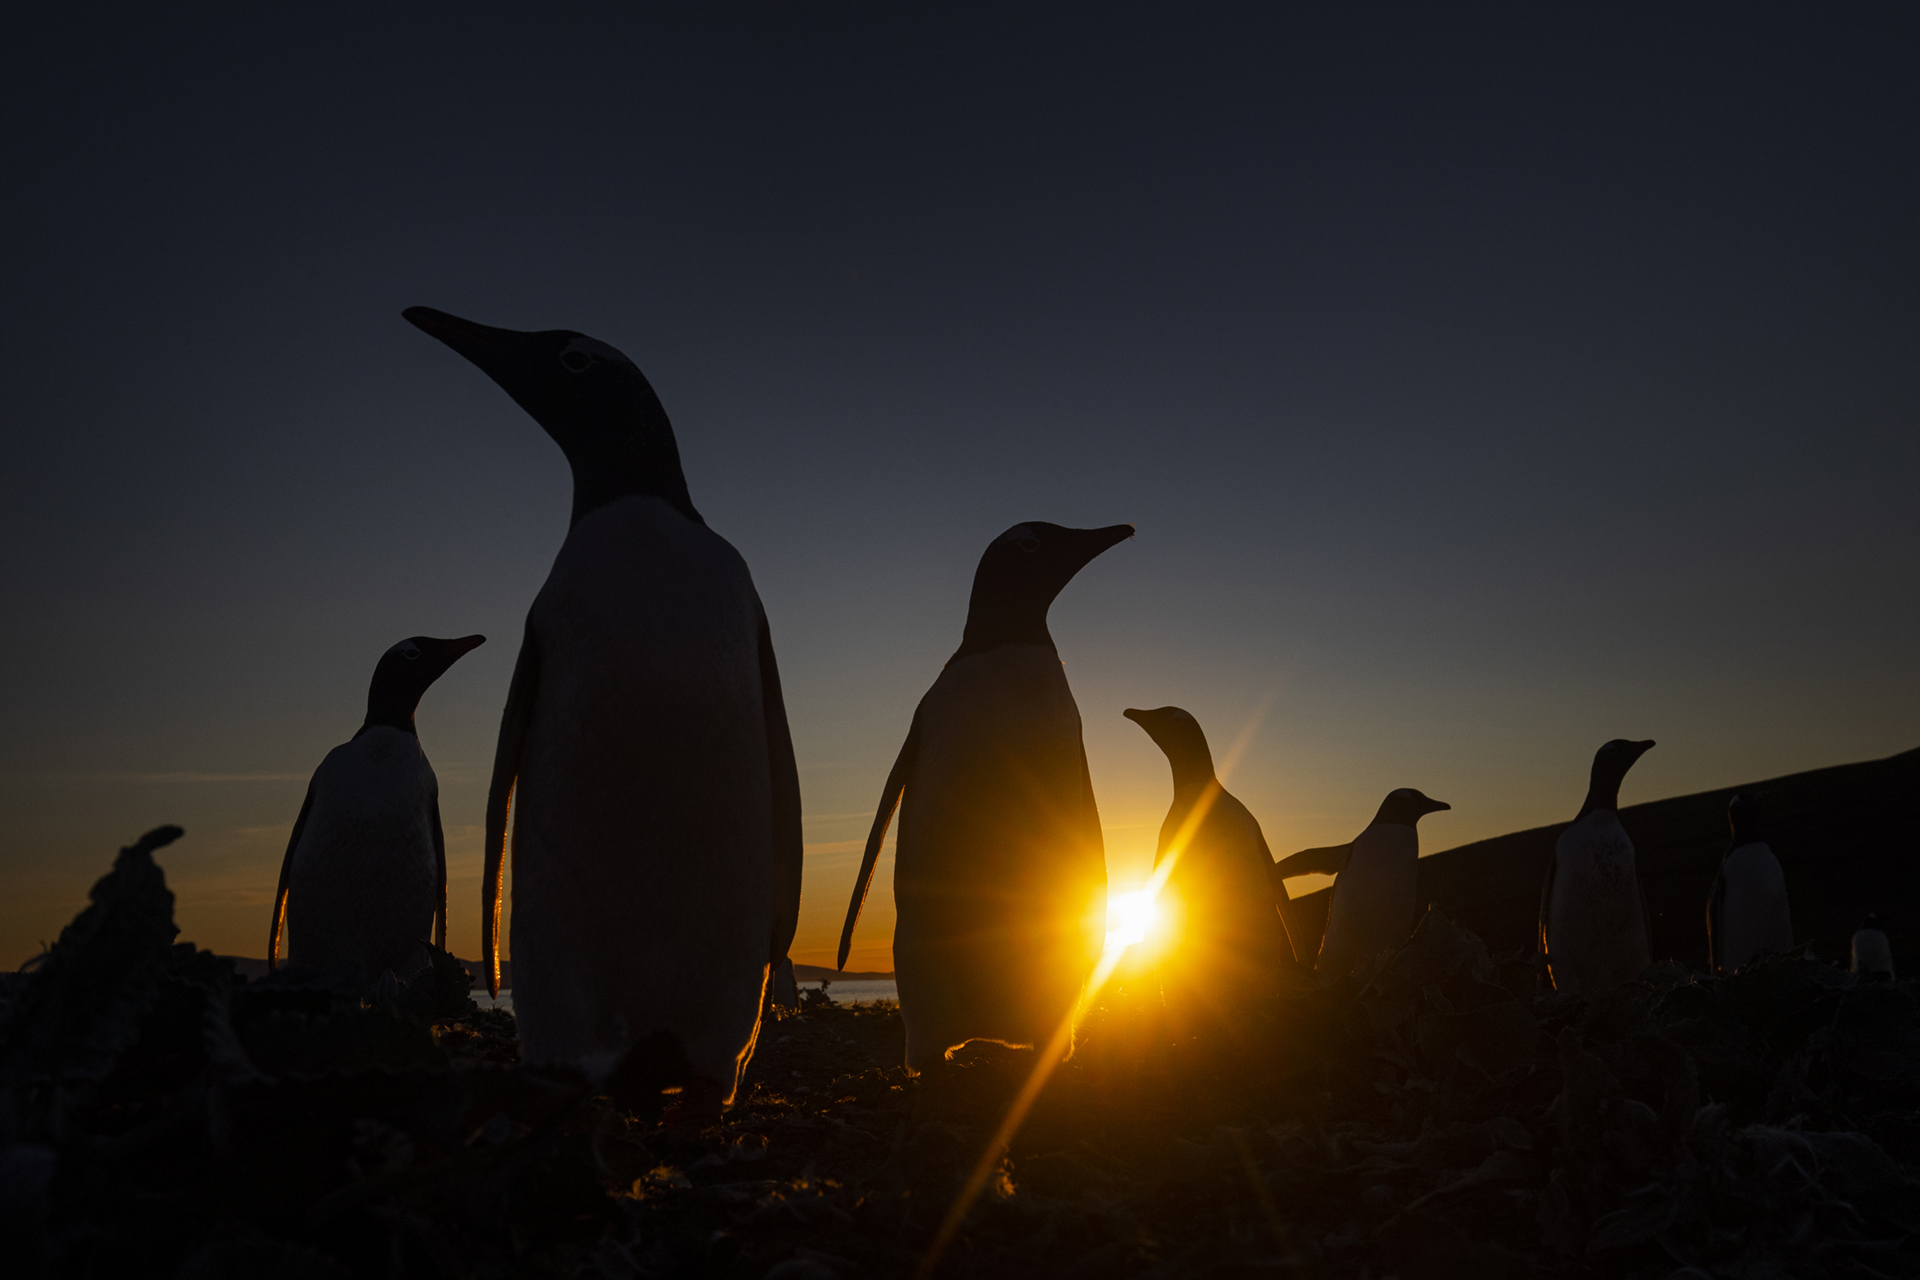
The next parameter is about the direction of the light. Personally, I almost always prefer backlighting. It adds feel and atmosphere to the image and can provide spectacular effects such as illuminating wings and water droplets. My optimal conditions are therefore to have the sun in my eyes and the wind in my back. How exactly you position yourself depends entirely on what result you are looking for. The important thing about this advice is simply to be aware of how wind and light affect the conditions.
3. Proximity to the subject
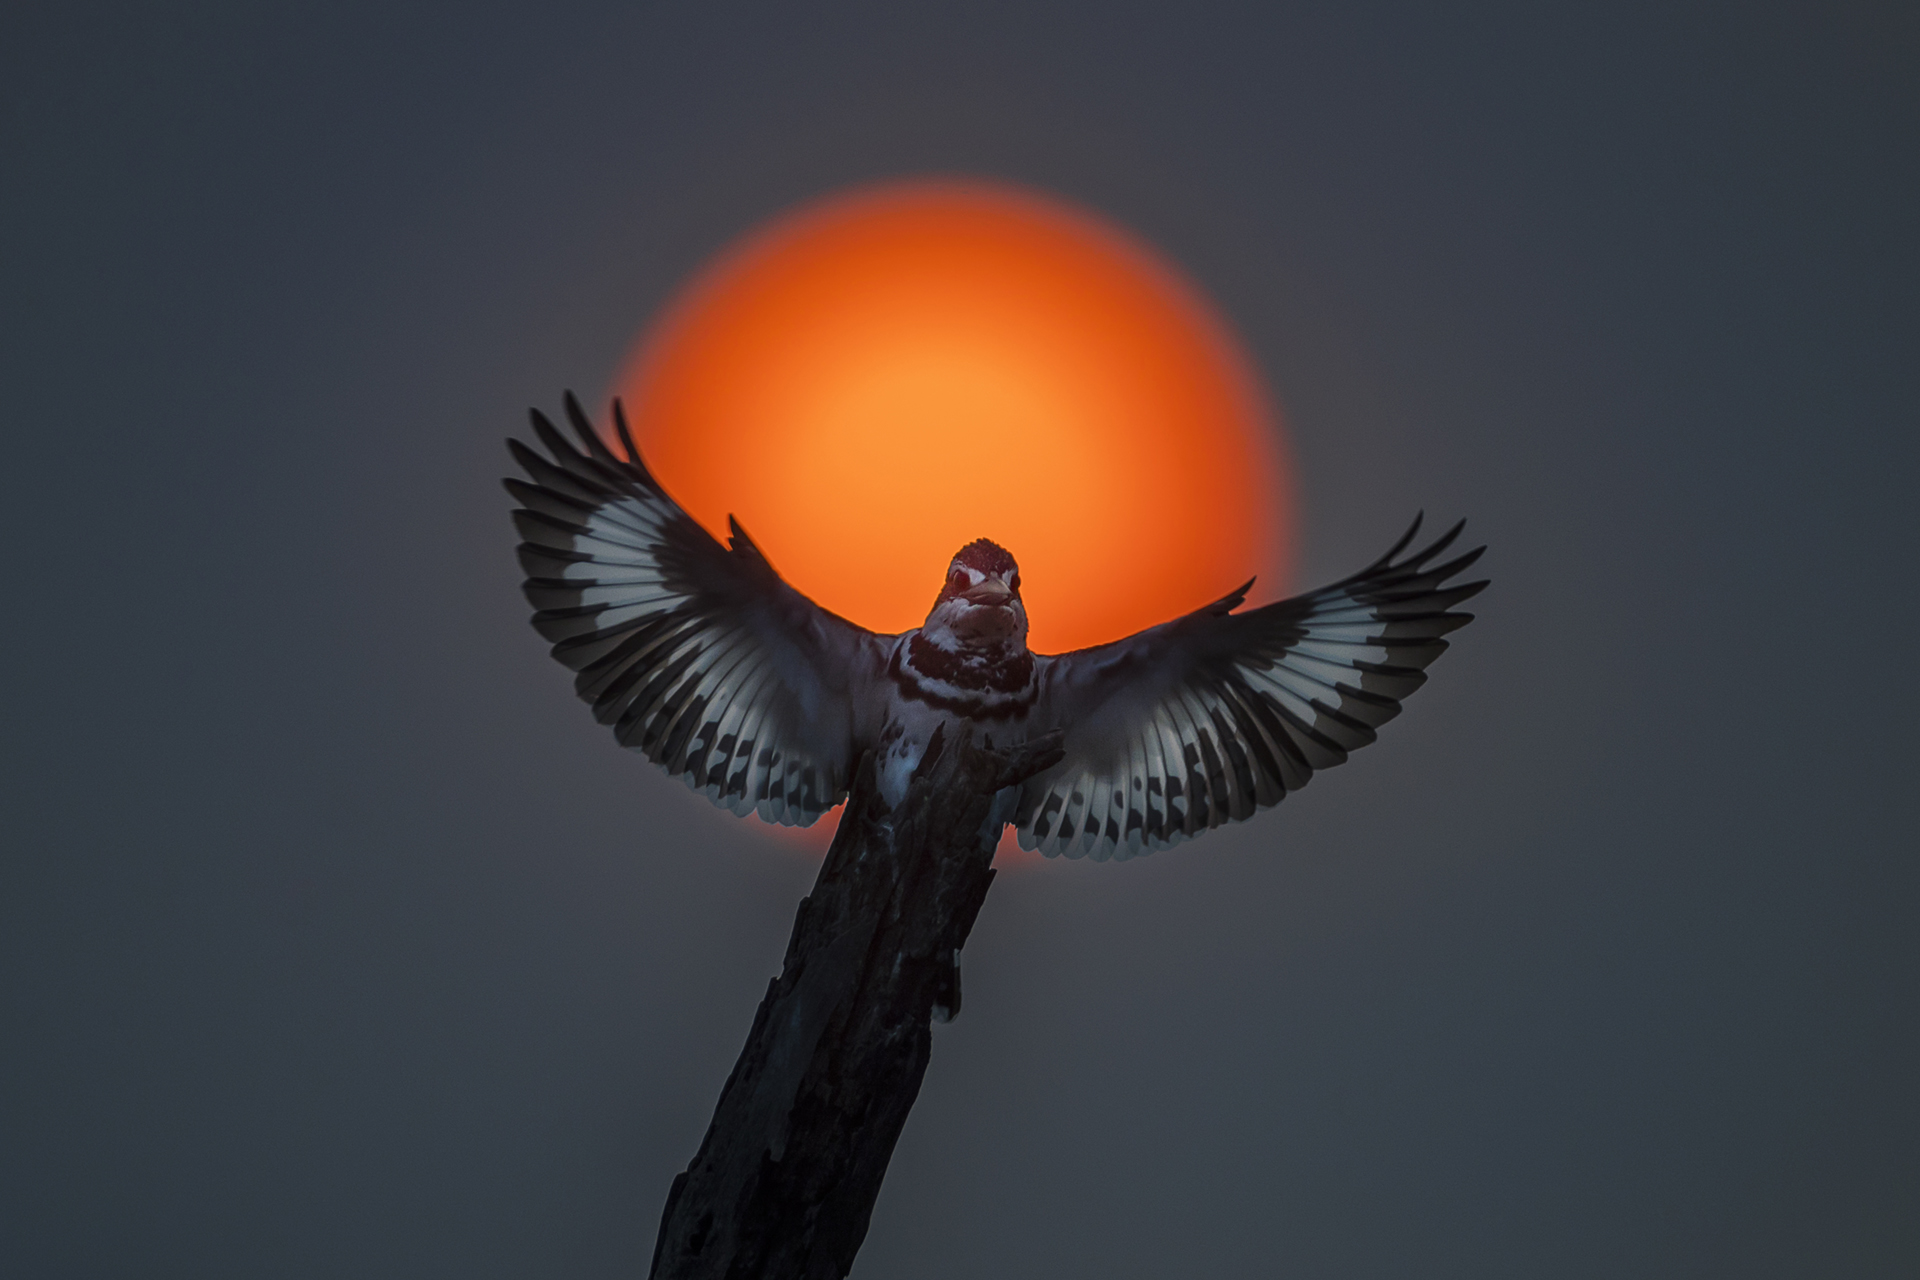
A strong image for me is an image that gives closeness to the subject. By that I do not necessarily mean to be physically close to the bird, but that the bird should feel present to the viewer. A trick to use to increase proximity is to try to get to the same level as the motif. Then you highlight the bird and get a feeling that you are in their world. At the same wavelength. A good side effect of this is that you get a better angle to the background. If you lie flat on the ground, you automatically move the distance to the background, which in turn provides a cleaner and softer background that further emphasizes the subject.
4. Include environment in the image
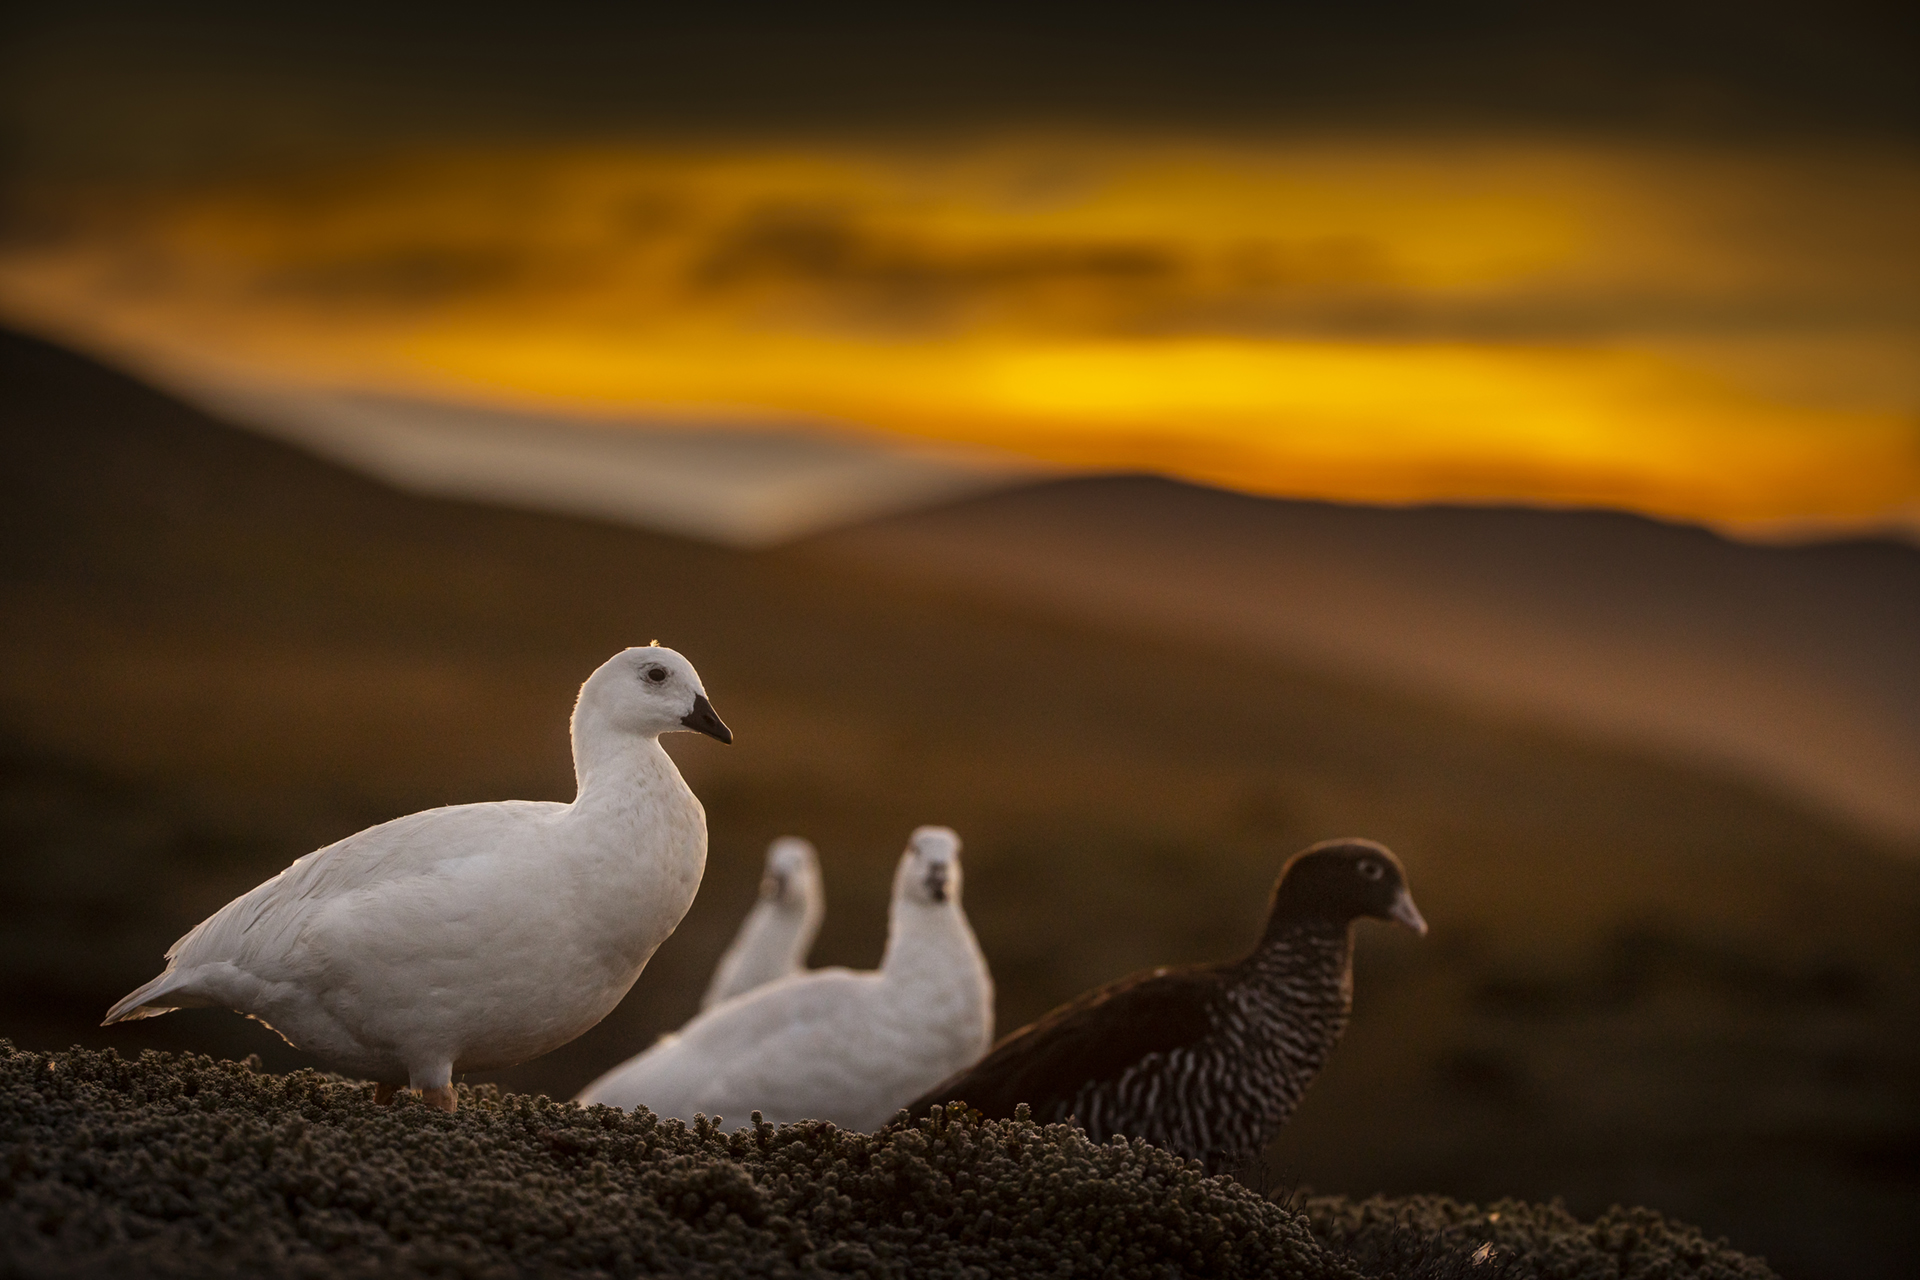
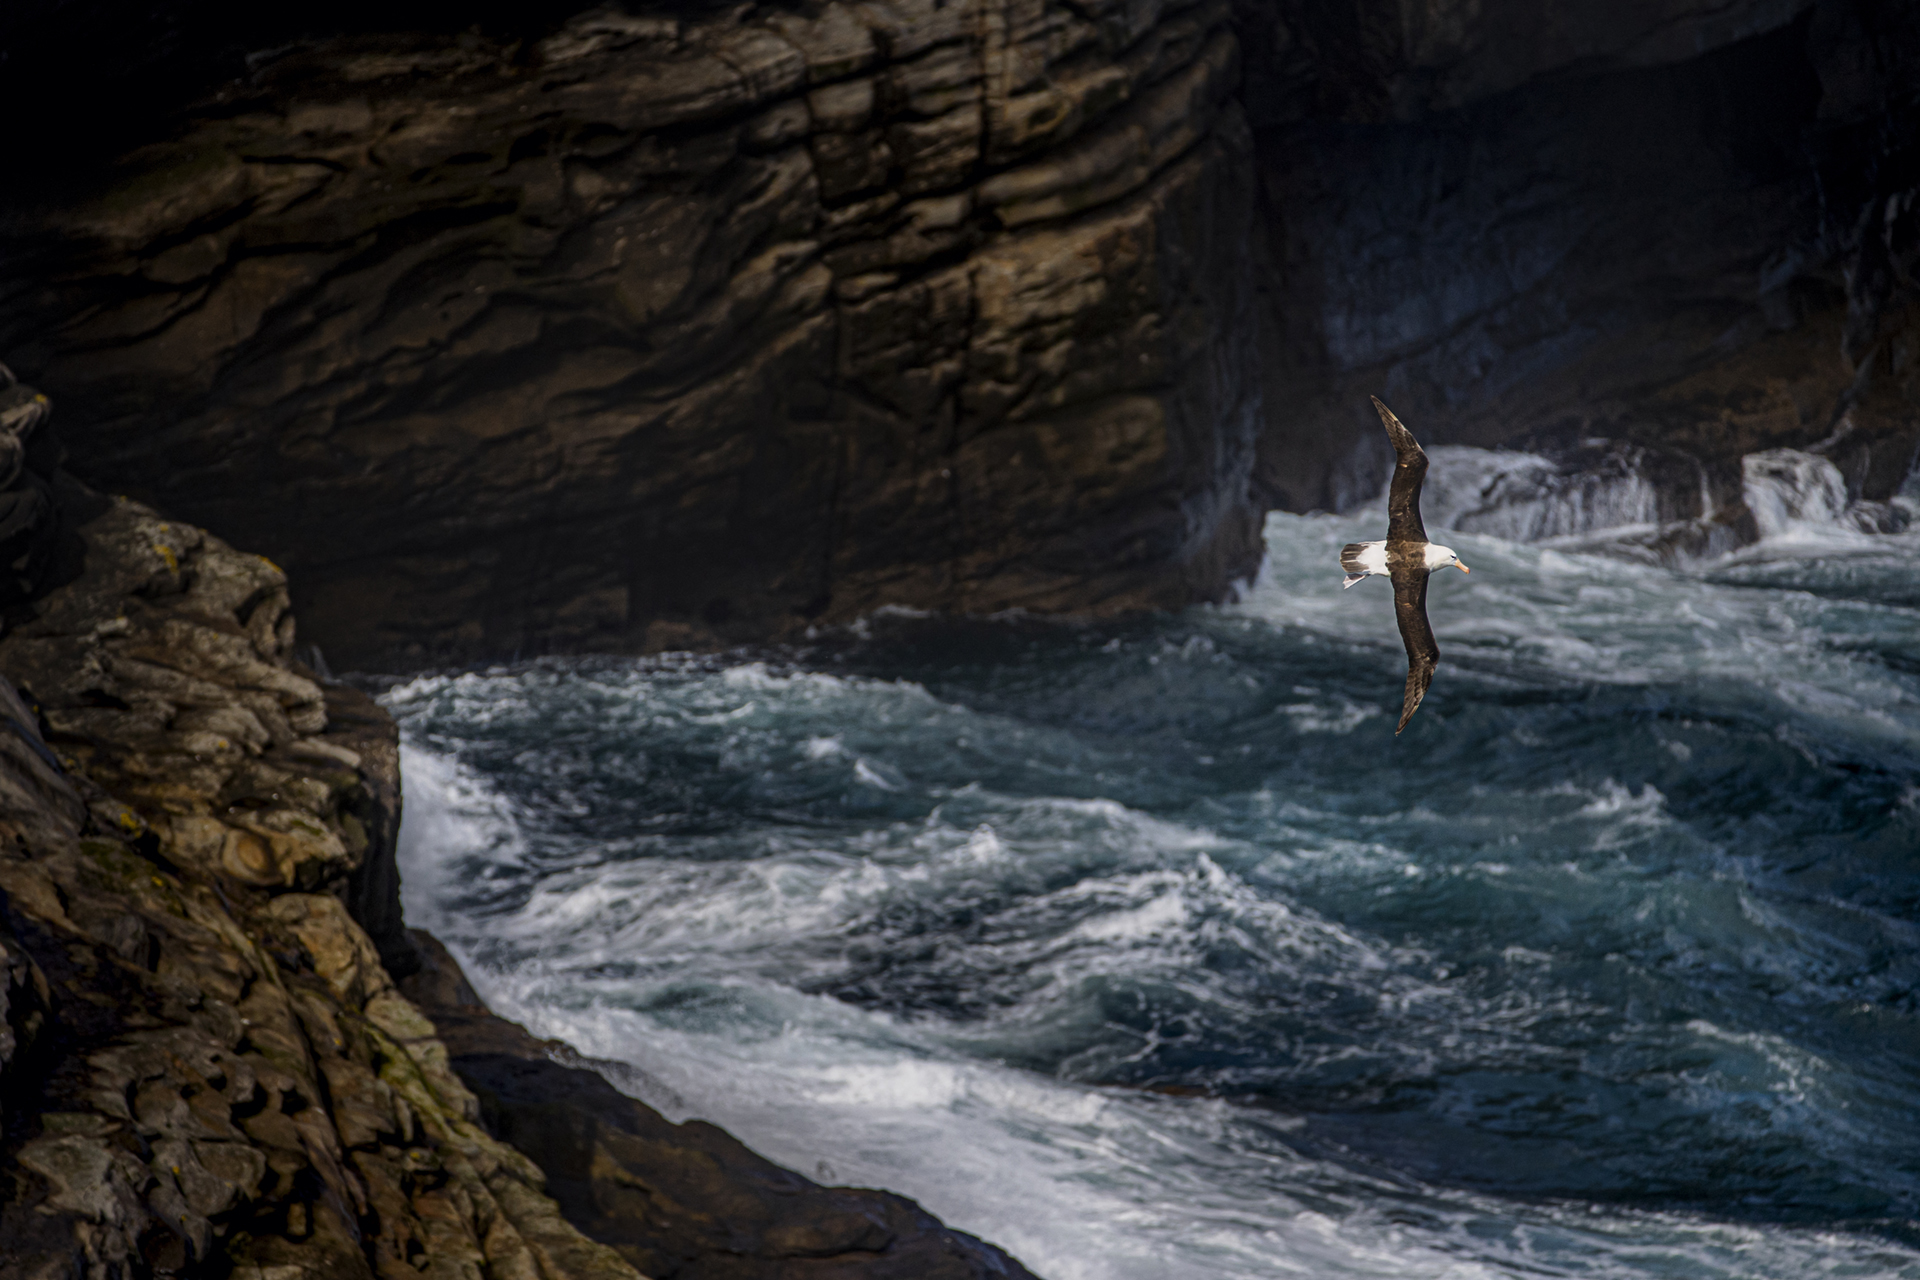
I usually say that birds always look the same. By that I mean that it is everything else around that affects whether an image is good or not. Often the key to exciting and spectacular pictures is to combine the birds with interesting environments. Therefore, I always try to keep a good eye on my surroundings and look for possible sections in advance before the bird dives. Sometimes I just let the bird be a small detail in a bigger picture if the environment is interesting enough. If I am going to photograph a specific species for a project, I therefore always try to find out which places I have a chance to find that particular species in and then select the place that has the most beautiful nature. This increases the chances of getting better pictures.
5. Test different lenses
Often when it comes to bird photography, 400-600mm is a good focal length to get close. But there is a great risk of getting stuck at one focal length. A pitfall here is that you can stay in your development as a photographer. Therefore, I recommend varying between different lenses and focal lengths and thus keep the creativity going. I used For example, several of my best birds are taken with wide angle lenses. In other words, you can photograph birds with any equipment. It's just a matter of adapting your ideas.
You’re well on your way to create beautiful bird photography. Make every attempt to catch those amazing moments photographing the common birds as well as the not so common. But the most important thing - Enjoy yourself! And success will follow.
What equipment to use for bird photography?
There is no equipment list that is perfect for every photographer, it all depends on your preferred object, the weight you are willing to carry on your excursion, and the budget you are prepared to spend etc. But here are a few items that might help you on your way in succeeding at bird photography.
Tripods
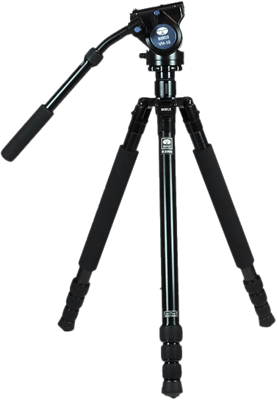
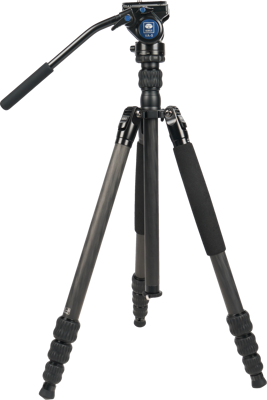
A stable tripod could be a good idea, in carbon fibre or aluminium. Tripods help you to stabilize and keep the camera steadily without any movement or vibration, which guaranteed will improve your photos, no matter if you are a professional photographer or a beginner. Tripods also make it easier to make manual adjustments by altering heights and angles. A tripod in aluminium is often less expensive while carbon fibre is lighter and do not get as cold in winter.
Gimbals
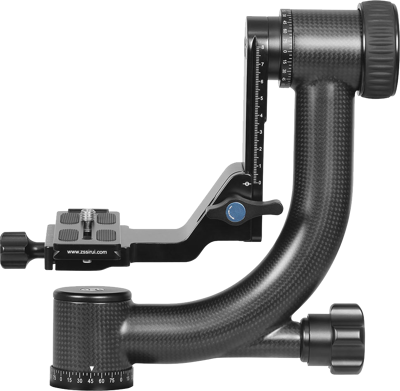
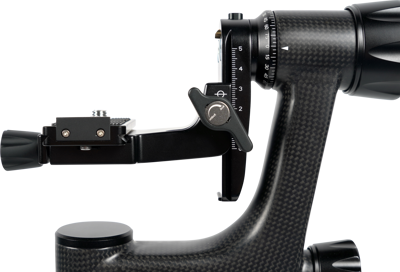
A gimbal can also come in handy and allows you to relieve the weight of a telephoto lens effectively as smoothly as it allows you to pan the lens as you wish.
Memory cards
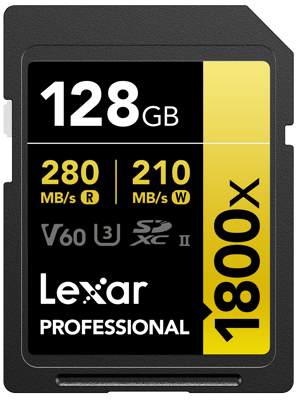
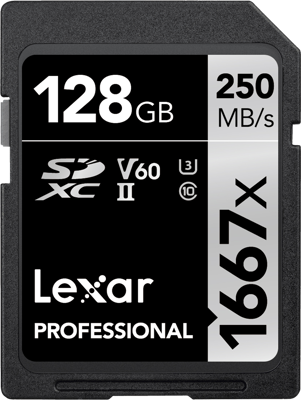
When shooting birds you could end up taking hundreds of pictures in a row. Bring along a fast and powerful memory card so you do not run out of writing speed. You do not want to be limited by this not being able to have your perfect shot, when being in the right place at the right time.
Gloves
Bird photography is often about early mornings in freezing temperature and a long wait for the perfect shot. A good glove could make the wait so much more pleasant.
Bags
Sometimes you need to transport yourself to reach the place to get the perfect shot. A practical bag from ThinkTank carries your gear and is kind to your back…
Binoculars and spotting scopes
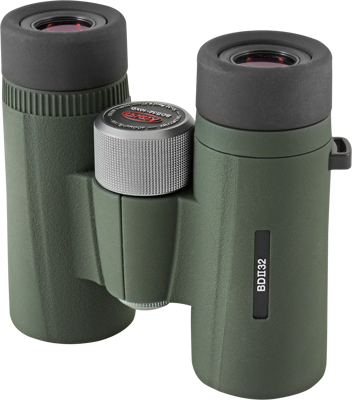
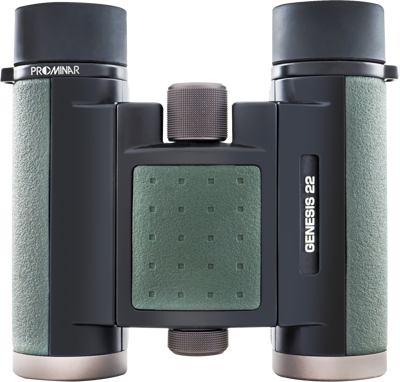
Do you need binoculars for bird photography? No, but a pair of binoculars works great as a support in the field. Using binoculars to scout the area when looking for birds or when waiting for a bird perched faraway to come closer or just to observe the bird movements for few minutes to choose the right spot to photograph them. A binocular allows you to find a subject quicker than with most lenses and a high light transmission binocular can really help finding your object even in a low light condition, early mornings and late evenings.
